Monday, 31 December 2012

New Years Resolutions

Hi There,

It's here again, that horrid cold feeling in the pit of my stomach that another year has flown by without me noticing and I am here again on the brink of  a New Year. Last New Year I was having a lot of stresses. I look back to last New Years Eve, I was desperately trying to get a job and pay the bills, whilst planning a wedding and everything else, I felt like I had a lot on my plate and had had a pretty hard time. The only thing that got me through that year had been learning to knit. So on New Years Eve I wrote a list to focus on what I wanted to achieve in the year ahead , what I wanted to do in 2012. I also wrote a list of all the traditions I had to do in order to get good luck. These included opening all the windows and doors at midnight to let the new year in, and leaving a basket outside, and letting a dark haired man come into the house first. (I did know the dark haired man so that wasn't a problem!) But from that list I  desperately made last New Years Eve I have a come a long way. I got a job, I pay my bills, I got married and had a lovely wedding, I moved house and I improved my knitting and I started this blog. So in a time honoured tradition I wanted to share with you my new list for New Years. This time I don't feel as low or blue, this time I feel optimistic and happy with my life, so here are my resolutions and they are not as bad as last year.


  1. I have been given a brand spanking new sewing machine for Christmas. (It was love at first sight and it has been named Kirsty, after Kirsty Allsopp who inspired me to ask for a sewing machine.) 2013 will hopefully see me mastering this machine and producing some sewn items which are not too wonky or unravelled. I hope to learn to quilt and to use applique, I would like to make cushions and maybe even establish a little dressmaking ability?
  2. In order to do this, I will have to find my confidence again and go to some new classes, I would like to join a class in sewing machines but also in applique, quilting and free embroidery. This I must force upon myself.
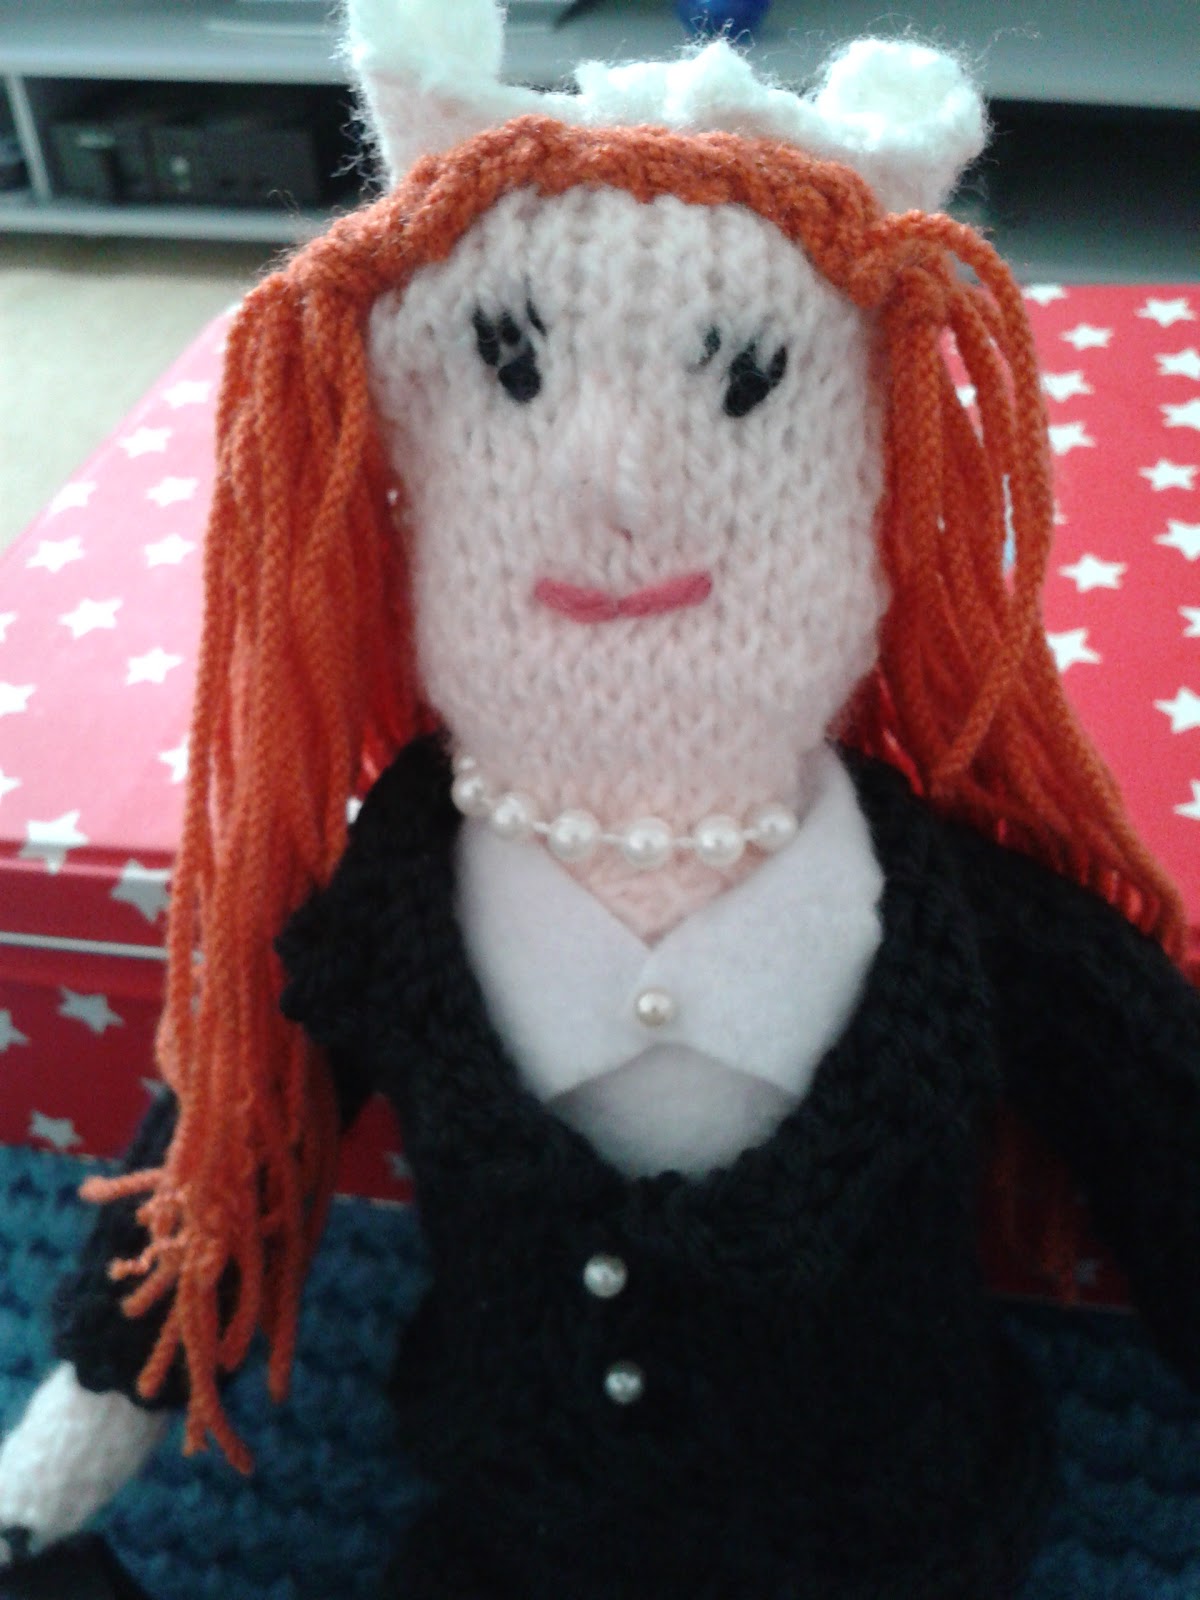
  3. I would like to improve my knitting. Knitting is my first love and I am so glad I learnt this skill as it is sometimes all that keeps me sane! I would love to master knitting socks in the round and cable knitting so I can make some interesting patterns in the knit but I would also just like to continue knitting and improve that way with new patterns and projects. 
  4. I am already in the process of completing my first knitted jumper, (but I won't mention the ribbing on the back as it is just awful! who knew my downfall for a jumper would be the first bit of ribbing?) so I would like to finish my jumper and be able to wear one of my own first knitted garments. I would like to improve on this and make other knitted garments.
  5. I will work on my blog, and I will strive to update it more than I do now, with my current projects. I am afraid a lot of my Christmas projects have been and gone without their recording on here so I would like to improve on that so I don't lose anything.
  6. I will work on my Etsy shop and learn to make more 'sell-able' things and also learn to price my knitted objects rather than just asking people to pay how they feel. But I will also not let the shop/price of things get in the way of making the object. The minute something becomes a chore I will move on, I knit because I love it, not because I have to.
  7. This is a more personal wish- I am looking for a new house again and cannot wait to move from where I am now back to be near my friends and family, I would like to see them more and spend more time doing things in the evenings and weekends instead of collapsing on the sofa and sulking about my day.
  8. I will also strive to be more proactive in my day to day life, which includes cleaning dishes and ironing clothes and keeping the house tidier, clean house clean mind and all that, even though it is horrendously boring.
  9. I will not allow others to assume that because I am a crafter, that I am a boring old woman, I am not. and I haven't met any other crafters who are boring, we take delight in simple things and they are some of the most talented and creative people I have ever met.
  10. I will find my nearest antique/vintage/junkyard and will explore 'Up-cycling' (Love you Kirsty!)
So there we have it, my focus for 2013 set out in stone, or in blog, who knows what will happen to me in 2013, so much has happened in 2012, that a quiet year may do me good. But then I have never been very good at being quiet.

Happy New Year,

Lots of Love
Bomo Knitting

Monday, 17 December 2012

Knitted Mitts

Hi there,

I have been knitting up a storm in the past few weeks ready for Christmas. I could use this as an excuse not for keeping my blog up to date but I have been so busy and have really enjoyed getting stuck into my knitting and doing some proper projects!

I have always loved having a matching set of gloves and hat when it gets colder. This year I found some wool that I had bought ages ago but I had just ignored as I thought it was too gaudy to use. This wool was bright pinks, yellows and turquoises. I decided to give it another chance and experiment with this wool to find something to make that would make the most of the bright colours.

I have seen a lot of knitted headwarmers/headbands in shops so instead of buying one I decided to make one for myself. As my friend said it means you get something totally unique. I wanted to keep it simple to show the colours in the wool off and although I love following patterns in my many knitting books it was nice to make something up and over the weekend I got stuck in to some simple knitting.

Using my favourite 4mm needles and 2x2 rib I simply knitted a long strip that was wide enough to cover my head and stitched the ends together. I finished it with a little knitted flower which is so easy to make and I discovered them this year. What you do is stocking stitch a few rows and increase it to the size you want then twist it on the needle to make the petals. I really love my finished headband, the colours are really cheery and it is so cosy.
To go with my headband I decided to make some mittens. Now I do still need a few lessons on knitting in the round because frankly I am awful at it so I googled knitted mitten patterns on 2 needles. I read a few patterns and then made my own little pattern up as best I could. I am still learning.

I made the cuffs using 2x2 rows to match the headband and knitted about 20 rows. Then using stocking stitch I increased either side to get more give on the glove and then simply knitted the rows to the size of my hand and decreased the end and then I pulled the end through the stitches to make the ends round.
The hardest part for me was adding the thumbs. Picking up stitches worked on the first glove but the second did become a hammer toe lookalike. And I had to pull the whole thumb apart and start from scratch which every knitter knows is heart breaking but is always worth it in the end.

It is nice to have some very very bright cosy mittens I made myself that shows off the colourful wool I had discarded originally so I'm really pleased. and you can tell the difference technically from the very basic chunky hand warmers I made last winter, so I can only hope I continue to improve my mitten making skills as I get older and become a more established knitter.


I'm so excited at the moment I really feel like I've made headway with my knitting and I'm hoping to learn some new crafts in the New Year and finally master knitting in the round! I'm hoping to go along to some classes to meet other crafters and learn new skills. I do intend to keep my resolutions and do some up-cycling!

Lots of love
BomoKnitting


Monday, 15 October 2012

Little Spooks


Hi There,


I'm quite excited this week, as I have finally designed and made my own knitted...things! 

I have left Christmas behind in the last couple of weeks, and have designed some Halloween decorations, as it is nearly time for Trick or Treating!


The first decoration I made was the grimacing pumpkin. It was an experiment really to see if I could knit a circle. (Which I quickly found I couldn't) so in order to make the roundness of a pumpkin I knitted a square (much easier) and then gathered the sides at the top to make the round shape. I then knitted another green square for the top and a triangle for the leaf. I have recently discovered i-cords, the way to knit back and front to make the long cord, i have become slightly obssessed with them and finding ways to use then again and again. I used an i-cord to make a stalk at the top of the pumpkin.
The second I made is the little ghost. I sat down and designed the shape just by increasing and decreasing the shape. I made 2 sides and stitched them together as easy as that. Then I used my favourite ICord techniques to make the arms, I just made fatter cords for the arms. The good thing about ICords is that they bend naturally so it did add to the ghost look.


The Witch is the thing I am most proud of, it was supposed to be a simple design like the other two, but I ended up adding and adding to it till it was a quite complicated design. the shape started like the ghost and was made by increasing and decreasing 2 sides of the dress. then I used techniques I have learnt from past projects to make the green hair, and the i-cords for the spindly legs. I also made a cape for the witch and a pointy black hat, and you can't see the bottom but she does have orange knickers too.

I wanted to make the witch a house decoration so it would be able to sit on the side with her legs over the edge. I'm planning a little range of these spindly legged characters like the witch, so watch this space.

My first designs are full of flaws, but I really enjoyed knitting without checking a pattern every 2 seconds. My favourite is the witch, but the pumpkin and the ghost are also cute. I'm calling this range 'Little Spooks'


Lots of Love
Bomo Knitting


Monday, 1 October 2012

Stars in their Eyes

Hi There

It's Christmas. Well nearly in exactly 85 days or there about, and I decided it was time to get a head start on my Christmas makes. Last year I made a lot of scarves and mittens, this year I wanted to make some decorations. I bought a lovely little book in the summer. It's called '20 Mini Christmas Makes' by Sue Stratford. It's really sweet and it has lots of little quick things to make, like Christmas trees, Christmas puddings and wreaths. I plan to make a few of everything and spread some woolly Christmas cheer this year. For my frst few experiments I started with stars.


So I made some stars. These stars are made for tree decorations or hanging up in the home. It's a relatively easy pattern to follow, you make the five points, or triangles and then place them on stitch holders and then you knit them all as one decrease to make the middle and hey presto a star. You make 2 sides and stitch together in garter stitch. I've decorated these with buttons, jingle bells and ribbon and they're really great for using up odd ends of wool that need using up. I did buy some metallic gold crochet wool to make the stitches round the edge.

The first one is made with a chunky marbled red wool, so is a bit larger and sturdier than the other two. I decorated it with a wooden button sewn on with the golden thread. I then stuffed them with toy filling.

The other two are made with DK wool in red and green, I decorated them with the gold thread and a bow with a bell I saved off a Lindor Rabbit last Christmas. (Yes I do save the bells off Lindor chocolates). The third one I decorated with red thread and a spotty red and white ribbon. I think they're nice and I plan on making lots of different woolly decorations for my tree and the trees of other's this year, and I'm on the hunt for sequin wool to make some more sparkly ones.


Whilst I made these stars, I also knitted up a snowman just for kicks.


Lots of Love
Bomo Knitting


Monday, 10 September 2012

Giraffe Spots and Stripes

Hi there

I have had my first commission. Remember when I made the elephant? the person I made it for requested a matching giraffe. I didn't even know you could knit a giraffe, I'd completely forgotten what a giraffe even looked like, but I like a challenge and I didn't have to look very far. The pattern for the elephant was designed by Laura Long, so I had an inkling she would have designed a giraffe pattern too. So I googled 'knitted giraffe' and lo and behold there he was, Gerry the giraffe from  'Knitted Toy Travels: Knitting Projects from across the Globe' by Laura Long.

Now before I go onto the pattern and the make, I do have to take a moment to say that the book is absolutely lovely. It has little rhymes which go with each picture and a map showing you where each animal is from, which is useful for me as my weakest point is geography. I am aware I'm a little gushy here so I'll move on but I really do recommend the book.

The pattern was a little bit of a challenge, now first of all I do think I have the used the wrong wool, it isn't made with a double knit. (I have only just discovered that 'DK' in patterns means a type of wool, Double Knit which is good for toys because it is very strong). I used a lemon that I bought a lot of last year and never used which was labelled as 'Toy Wool' so could be a kind of DK wool, and and a gingery orange wool from John Lewis which is quite a sturdy harder wool than the lemon. What it meant was that there was some pulling on the spots and he is a very floppy giraffe, he can't stand at all like the one in the book, but he sits very well as you can see. The part that challenged me was picking up the stitches, once you've made the head you then pick up the stitches across the middle of the head. I was very nervous doing this so I watched a video on youtube on how to pick up stitches. You literally slide your needles under the loops and gather them on your needle so it looks like they have been cast on. This is the only simple way I can describe it to you and understand it myself. But because of my nervousness I picked up the stitches further back than originally designed, so he has a big head. But he is cute with his big awkward head.

This is the body as a basic, and yes it looks like a dinosaur. The best bit for me though was the spots. I decided a couple of  weeks ago to try 'Intarsia' in making a knitted picture, which was supposed to look like an embroidered sampler, where you follow a chart and mix the colours as you go. The picture was ok and interesting in the end, (it hasn't made it on here!) and I taught myself how to follow a chart diagram and how to swap the colours of wool. The giraffe has a chart using two yarns you swap the different colours for a certain number of stitches each time and it makes the rather attractive spotted effect which was lovely to do and made a great pattern, like an actual giraffe skin.
I am always surprised when the patterns I start actually end up looking like the thing they were supposed to. It seems like a fluke to me. You also had to pick up stitches to make the flat back and the sides of the body which you can see here is a little messy on the seam, but the next one will get better and it adds character I always think.

Here you can see the four stripy sausage legs, which I stuffed really full to make the little fat legs. I came into difficulties trying to attach the little fat legs securely to its body. So on some of the tops of the legs you can see the pulling, but it worked in the end just to go over the stitches a few times. You then make the 'accessories' like the tail which is a tube stuffed and a tassle on the end, and the ears and horns. The hair was fun. I cut a long strip of cardboard and wrapped the wool round a little bit like how you make a pom-pom which I really enjoy making. You cut the ends to make the shaggy effect and stitch almost a  seam down the side to the body. I mixed the two colurs together which made a nice effect.


Below are two of Laura Long's designs, both are going to live happily ever after in the jungle themed nursey they were made for. I do think there will come a time where I will start making more 'grown up'  and serious projects. but why do that when you can knit a giraffe? or a reindeer? or a hippopotamus? or a meer cat? or even a dinosaur??


Lots of Love
Bomo Knitting

Sunday, 2 September 2012

Pretty in Pink

Hi There.


Last week I set myself a challenge. I had three days to make my 4 year old cousin a present. We were going down South for a visit and I didn't want to do the generic Toys'R'Us run for her. When I got married she was the flower girl at my wedding and I made her a little knitted bride for her gift, which she loved, so I knew knitted and pretty was the way to go with this present. So I went through the wool I had which is starting to become quite a large collection, and decided to use a pattern I had fallen out with for a while and improve it slightly for my own end. I used 4.5 mm needles and size 4mm acrylic and baby wool.


I made her a pretty pink ballerina bear. Using a basic acrylic white wool and a baby soft bright pink hand dyed wool. The pink wool was beautiful to use as it has been hand dyed so you get a variety of different effects and patterns in pink and white. The pattern I used was as I said one that I had fallen out with earlier in the year. It is from the book '20 Tiny Knitted Bears to Make' by Val Pierce. Which is a relatively cheap book I bought a while ago as it is definitely for beginners. This is the basic bear on the right. It is very simple. Just a triangular shape for the head which is then stitched to create the ears. and then the body is made from 2 pieces sewn together. To make the legs you stitch half of the row, cast off two to create a gap and then turn the stitches so they're still on your needles, so then you can knit one leg, and go back later to stitch the other. Just trying not to lose count on rows. For this bear I used Stocking stitch, as I have made a few toys in stocking and I do think it looks much neater and more professional. The pattern asks you to do the whole bear in garter which I did for the first two bears, and is partly why I fell out with the pattern it just doesn't look nice to me.


After the bear is made you have to dress it to give it some character, otherwise its just a naked white bear. I chose ballerina bear and using the baby wool in its ever changing pattern made the dress. This dress was a lot harder than I thought to make. You make two sides of the top which is just a basic shape which you increase and decrease to get a shape and then divide in the middle again to create straps. The skirt was also tricky it's made in 2 pieces and is quite a lot of stitches on a row, for this ballerina bear it asked you to make the skirt so it's 5 cm long, as it's also stocking stitch it curls up at the end which makes a lovely frill. I finished the dress off with a plaited belt and a little silk flower from my odds and ends box. The necklace was also some more string pearls from my wedding cake, like in earlier posts I have a lot of string pearls.

I then made little bootees which you stuff the end to make little feet, the boots took literally 10 minutes to make as they are so small. And to finish off the bear I gave it a little bow for one ear just to drum home that it was a girl. this was made by knitting a small rectangle and wrapping some yarn around the middle. This will be a good thing to make in future in larger dimensions as decoration for hats or headbands. But that's in the future.  I spent quite a while on the face, As I have learnt from making a lot of children's toys its the face that gives all the character to the creature and for this I used size 2 black arran wool, and using it like embroidery stitching a shape and filling it in for the eyes and nose, and then using it to make a mouth. I was very happy in the end with the bear, and its final pretty pink self. It literally took me 3 evenings and one afternoon to make and my little cousin loved it very much. She was named Amy.

As I said I have made this pattern before, but i followed the pattern to the letter. And I used another alternative coloured hand dyed wool which gives you a multi-colour effect. This bear however is full of flaws so I don't want to give him to anyone, but I have grown  attached the the small misshaped peculiar looking bear with it's wonky face, and it is now mine. I rarely keep my own knitting but this is  an exception, he's called a very imaginative 'Ted'.


For this bear I put bells inside so he jingles when cuddled, but as you can see he is very primitive with his garter stitched self. I made him a little jumper also from the book. He was made on 4mm needles so is much smaller than the pink ballerina bear, and when you see projects you made very early on in your knitting quest and what you can make now, you can really see how far you have come. But he is cute isn't he?


Lots of Love

Bomo Knitting XX


Monday, 13 August 2012

Legally Ginger!!

Hi There!

I've spent the last few weeks knitting a secret project for my friend who has just finished Law College, and is finally qualified. I decided to try and get her a present at first, a Solicitor Barbie, in a Legally Blonde style, but as you can imagine an intelligent barbie doll is kind of impossible to find. So I decided to knit her a mini me solicitor doll, Legally Ginger.
I received two of these knitted mini me's as a present on my wedding day, they were a complete surprise and were a present off a very talented knitter. I loved my knitted Bride and Groom who looked just like us and it gave me the idea that I could try and make something like that for my friend, something she would hopefully like and keep, and would be a complete surprise.

So it started with a book I bought ages ago on a whim when I started knitting: it's called 'Knitted Icons' by Carol Meldrum and it is used to make mini celebrities like Marilyn Monroe and Britney Spears. I've never had enough courage to attempt one of these, till now but it is very simple. Which shows how you shouldn't judge a book by its cover. You make a basic figure and then dress it into the celebrity of your choice. So I used the book to make the basic body type. Using 4mm needles and 4mm wool in a peach colour I created... a very basic woolen... naked person. This is made by using stocking stitch to create the body, you make 2 oval pieces and sew them together down the sides, then you make the legs and arms by knitting long tubes,and stitch them onto the body. For the head you make 2 oval pieces which is then sewn together. As usual the stuffing was the hard part and I used pillow stuffing to try and create the figure and you always need more stuffing then you first imagine. The one down side to the doll was the legs, which I thought were a little bit too long so I put them higher up on the doll then the pattern said.


Next came the hair, and for this I used, believe it or not a pattern from Cher's hair. You make a round knitted piece and then attach the hair using the fringe technique I mastered with the marble rug from earlier, by cutting strands and connecting them using a crochet hook. For this I used orange wool in a size 4mm.


I also made the face at this point by just stitching the mouth on in a pink smile and making french knots in black to make the eyes and a stitched tiny little eyelashes above the knots. I made the face at this point because the stitches are pulled through the top of the head. The nose was made by sewing into the face with the skin coloured wool. Then using white felt, I got out of a children's crafting set cut out collars and shirt front, then using pearl pins created earrings and a button to hold the shirt together.


I have to say however, that I was disappointed with the clothes available in Carol Meldrum's book, hardly any of them are knitted and are made out of fabric or felt, and if you are really bad at sewing like I am it didn't appeal to me to design my own suit. So I turned to the talented lady who made my bride and groom and she gave me her secret: her copy of the 'Knit your own Royal Wedding' by Fiona Goble. This book was released around the royal wedding last March and has patterns for every single royal family member, but most importantly patterns for knitted suits. I particularly wanted to knit a suit jacket so used the pattern for the lounge suit. It's quite simply one piece wrapped around with some increasing and decreasing on the front to make the lapels. I knitted this with 2 3/4 Black arran wool, on my favourite 4 mm needles. I invented the pencil skirt myself by knitting one piece in stocking stitch and wrapping it onto the body to make a skirt the binded off edge was left at the bottom of the skirt to make a slight frilled edge, and a left a split at the back to create a real pencil skirt.

Trial and error was a large part of this project, I made a few different shoes until  I got the size right. Using the pattern for the Queen's shoes I made these in red, my friend's favourite colour and made tiny little bows to stick on the front. The easiest part of this project was the barrister wig, which was actually the Queen's hair stitched on top of Cher's hair. (I never thought I would say that sentence!) To finish the design I made a very basic briefcase out of black felt, and gave the doll a pearl necklace from a string of dress pearls off my actual wedding cake which I had kept and use pearl pins for buttons on the jacket.
I was happy with the final doll, It was challenge to make some very small knits and very intricate decorations, and I had to concentrate a lot to make sure I kept up with the pattern. I do think my gift looked a lot like its owner in the end and for my first ever doll I'm happy with it. I will never think my patterns are perfect, but yes it was a good project, and everyone should be afraid of when the mini me will emerge in the future.

Lots of Love,
Bomo Knitting XX